How to Take Care of Kitten After Spay: The 72-Hour Recovery Checklist Every New Cat Parent Needs (So You Don’t Miss a Critical Sign or Make a Costly Mistake)
Why This First 72 Hours Decides Everything
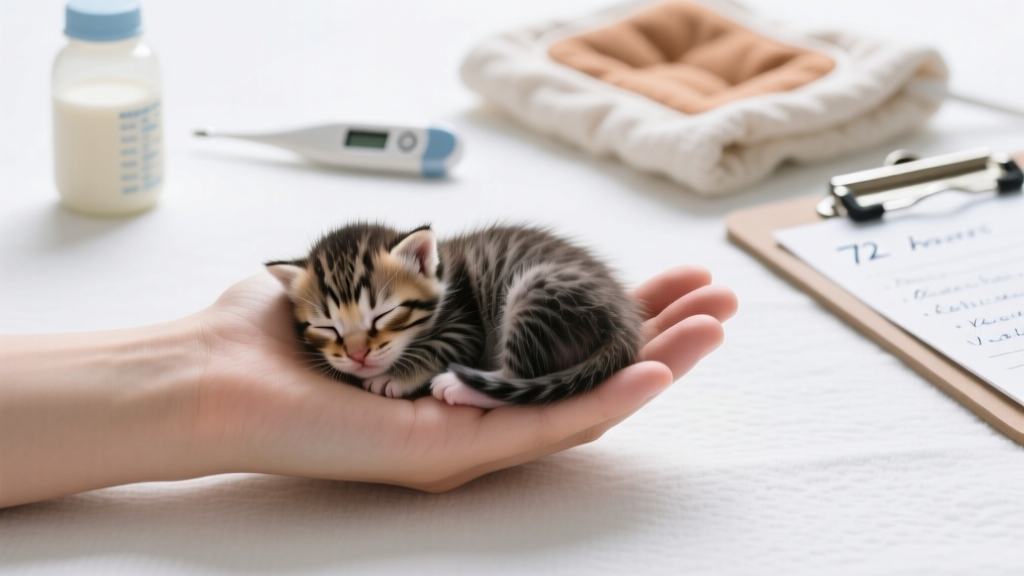
If you're searching for how to take care of kitten after spay, you're likely holding a sleepy, groggy little one in your arms right now — maybe even wondering if that tiny lump under her belly bandage is normal, or whether it's okay she hasn’t eaten since yesterday. That uncertainty? It’s completely understandable — and dangerously common. According to the American Veterinary Medical Association (AVMA), nearly 34% of post-spay complications arise from well-meaning but misinformed home care — not surgical error. Kittens under 6 months recover faster than adults, yes — but their small size, rapid metabolism, and limited pain tolerance make them uniquely vulnerable during the first three days. What feels like 'just being cautious' can accidentally delay healing; what seems like 'letting her rest' might mask early signs of infection or internal bleeding. This isn’t about perfection — it’s about knowing exactly what to watch, when to act, and how to give your kitten the safest, most supportive recovery possible.
Your Kitten’s First 24 Hours: The Critical Stabilization Window
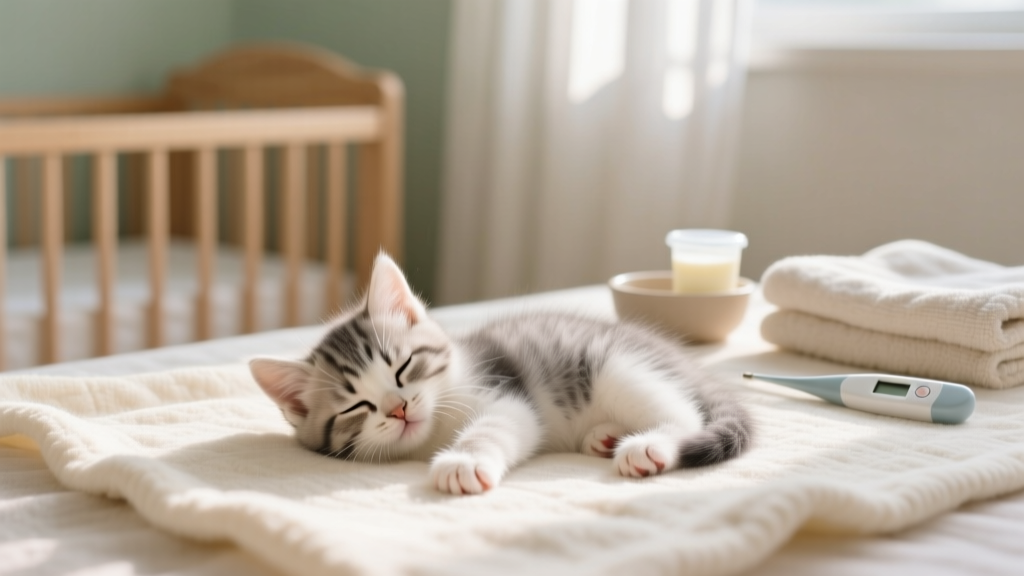
Think of the first day post-spay as ICU-level vigilance — not because something will go wrong, but because early detection prevents emergencies. Your kitten will still be under the effects of anesthesia and pain medication. She may shiver, seem disoriented, or refuse food — all typical. But here’s what’s non-negotiable: keep her warm (not hot), quiet, and confined. Dr. Lena Cho, DVM and feline specialist at the Cornell Feline Health Center, emphasizes: 'Kittens lose body heat 3x faster than adult cats. A rectal temperature below 99°F signals hypothermia risk — which impairs immune response and delays clotting.'
Set up a dedicated recovery zone: a medium-sized cardboard box or pet carrier lined with soft, seamless towels (no loose threads or fleece — they snag on sutures). Place it on the floor — never elevated — and cover ¾ of the top with a light blanket for den-like security. No blankets inside the box unless supervised: kittens can overheat or suffocate trying to burrow. Keep other pets and children away for at least 48 hours. Monitor every 2–3 hours while awake: check gum color (should be bubblegum pink), capillary refill time (press gently on gums — color should return in <2 seconds), and breathing rate (normal: 20–30 breaths/minute). If she’s panting, drooling excessively, or her gums turn pale/gray, call your vet immediately — don’t wait until morning.
Offer water first — a few drops on your fingertip or shallow ceramic dish — but hold off food for 6–8 hours post-anesthesia unless your surgeon specifies otherwise. Why? Nausea is common; vomiting while drowsy increases aspiration risk. When you do reintroduce food, start with ¼ of her usual portion of bland, warmed wet food (e.g., plain chicken pate, no onions/garlic). If she eats eagerly and keeps it down for 2 hours, offer another small portion. Skip dry kibble for 48 hours — it’s harder to digest and dehydrating.
The Incision: What’s Normal, What’s Not, and How to Check It Right
Your kitten’s incision site is the single most important thing to monitor — yet it’s also where owners most often misinterpret signs. Most spays use internal absorbable sutures plus skin glue or external stitches. Regardless of closure type, the area should be clean, dry, and slightly pink — not red, swollen, or oozing. Here’s how to inspect properly: Gently part the fur (don’t touch the skin) under natural light, twice daily. Use a magnifying glass if needed. Look for:
- Normal: Slight bruising (purple/yellow tinge), minimal clear-to-amber discharge (dried crust is fine), mild swelling <1 cm around edges
- Warning signs: Green/yellow pus, fresh blood soaking through bandage, foul odor, swelling larger than a quarter, or skin pulling apart at any point
Never apply hydrogen peroxide, alcohol, or ointments — these damage delicate tissue and delay healing. If your vet prescribed an Elizabethan collar (E-collar), wear it continuously except during supervised meals. Yes, she’ll hate it. Yes, it’s non-negotiable. A 2022 study in the Journal of Feline Medicine and Surgery found kittens without E-collars were 5.7x more likely to develop incisional dehiscence (wound reopening) due to licking — even if they ‘seemed calm.’ If she’s scratching at the site despite the collar, ask your vet about a soft ‘recovery onesie’ — but never substitute with tape, socks, or DIY wraps.
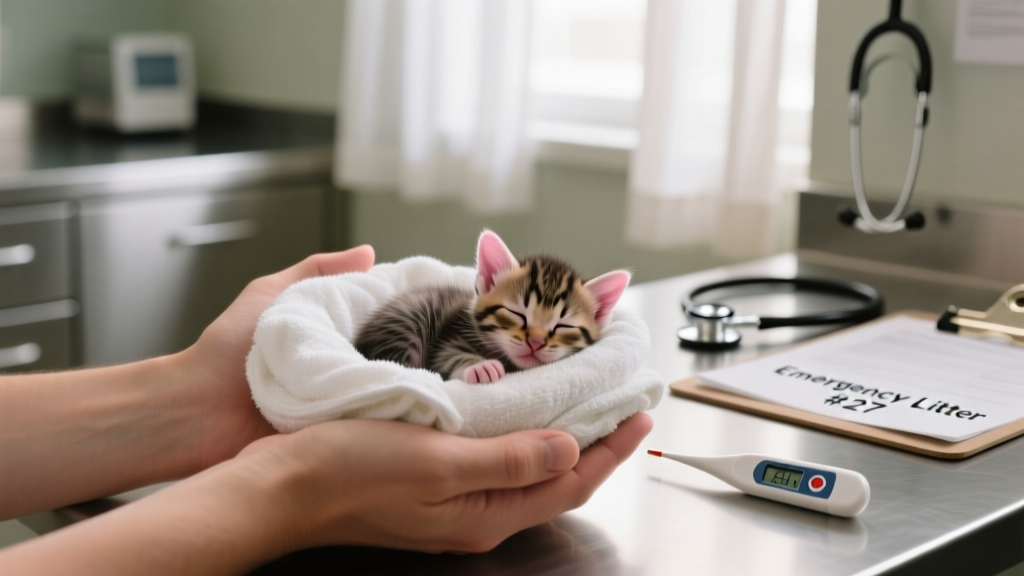
One real-world example: Maya, a 4-month-old tabby, developed a small, firm lump near her incision on Day 2. Her owner assumed it was ‘just swelling’ and waited until Day 4 to call — by then, it had become an abscess requiring emergency drainage. Post-op lumps *can* be seromas (fluid pockets), but only a vet can differentiate via fine-needle aspirate. Rule of thumb: if it’s growing, warm to the touch, or causing discomfort (whining, flinching when touched), get it checked within 12 hours — not ‘when the clinic opens.’
Activity, Environment & Pain Management: Beyond ‘Just Rest’
‘Rest’ is vague. For kittens, it means strict activity restriction — and that looks very different than for adult cats. Their instinct is to pounce, climb, and explore. So your job is environmental engineering. Remove all cat trees, stairs, and high perches. Block access to laundry rooms, closets, and under-bed spaces where she could hide and strain her abdomen. Confine her to one quiet, low-traffic room with her litter box, bed, food, and water — all within 3 feet of each other. No jumping, no running, no sudden twists. Even playful wrestling with a sibling must be prevented.
Pain management is where many owners under-treat. Kittens rarely vocalize pain — instead, they go quiet, stop grooming, hide, or adopt a hunched posture. According to Dr. Marcus Bell, board-certified veterinary anesthesiologist, ‘If you think your kitten might need pain meds, she almost certainly does. We err on the side of over-medication post-spay because undertreated pain increases stress hormones, slows healing, and raises complication risks.’ Your vet should send home FDA-approved feline NSAIDs (like meloxicam) or buprenorphine. Never give human painkillers — acetaminophen is fatal to cats; ibuprofen causes gastric ulcers.
Track behavior hourly for the first 12 hours: note if she’s purring (often a sign of self-soothing in pain), avoiding pressure on her belly, or refusing to stand upright. A useful benchmark: she should voluntarily stretch her back legs once every 4–6 hours. If she hasn’t stretched in 12 hours, contact your vet — it may indicate abdominal discomfort or nerve irritation.
Care Timeline & Milestone Tracking
Recovery isn’t linear — it’s phased. This table maps what to expect, when to escalate concern, and which actions are evidence-backed:
| Timeline | Key Physical Signs | Required Actions | When to Call Vet |
|---|---|---|---|
| Hours 0–12 | Shivering, lethargy, slow blinking, cool ears/paws | Warmth support (heating pad on LOW, wrapped in towel), gentle massage of limbs, monitor temp every 2 hrs | Gum color gray/blue; breathing >40/min; no response to name/touch after 2 hrs |
| Hours 12–24 | Increased alertness, attempts to groom (but avoids belly), mild appetite return | Introduce water → small food portions → increase gradually; check incision; reapply E-collar if removed | Vomiting >2x; refuses all food/water for >12 hrs; incision bleeding freely |
| Days 2–3 | Playful curiosity returns (low-energy), normal bowel movement, incision drying/crusting | Continue restricted activity; weigh daily (should regain pre-op weight by Day 3); disinfect litter box 2x/day | New swelling/lump >1 cm; green discharge; kitten cries when touched near belly |
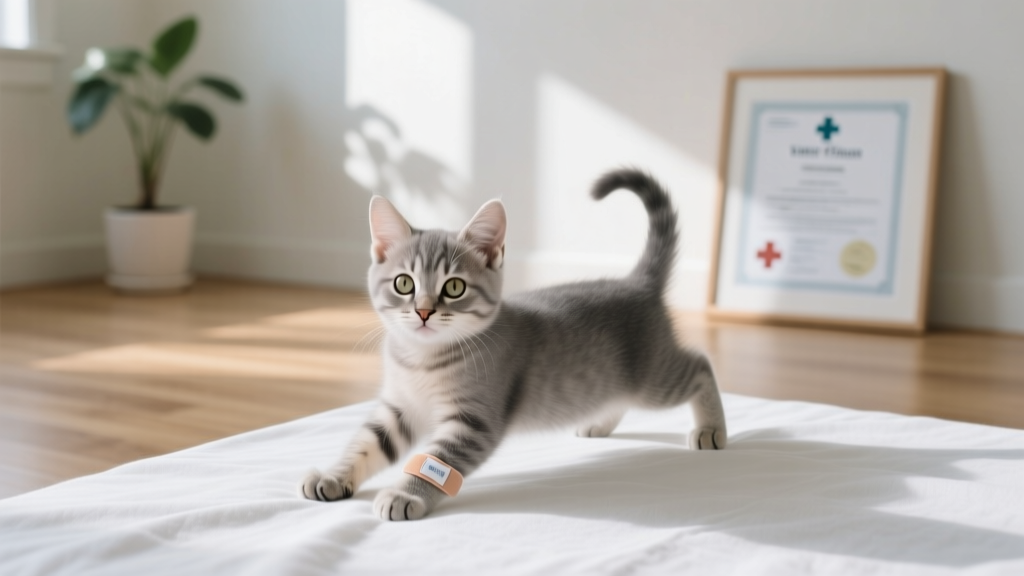
| Days 4–7 | Full appetite, playful pounces (low height), incision closed/sealed, no redness | Gradual expansion of space (add one new room); resume brushing (avoid belly); schedule suture check if external | No improvement in energy/appetite by Day 5; persistent hunching or hiding |
Frequently Asked Questions
Can I bathe my kitten after spay?
No — absolutely avoid bathing, swimming, or getting the incision wet for a full 10–14 days. Moisture softens tissue, promotes bacterial growth, and dissolves skin glue. If she gets dirty, gently wipe non-incision areas with a damp, warm cloth — never rub the belly. Wait until your vet confirms full healing before any water exposure.
How long until my kitten can play with other cats again?
Wait a minimum of 10 days — and only reintroduce under direct supervision. Play-fighting, chasing, and mounting put dangerous strain on abdominal muscles. Even gentle ‘nuzzling’ can irritate the incision. Gradually increase interaction time: 5 minutes on Day 10, 10 minutes on Day 12, full access only after Day 14 and vet clearance.
My kitten is licking her incision — is the E-collar really necessary?
Yes — and it’s not optional. Licking introduces bacteria, disrupts scab formation, and can reopen internal layers before they’ve bonded. One lick delivers ~10 million bacteria. Studies show E-collar use reduces infection rates by 89% versus alternatives like T-shirts or socks. If she’s distressed, try a padded, transparent ‘cloud collar’ or consult your vet about short-term anti-anxiety support.
Should I be worried if my kitten seems hungrier than usual after spay?
Mild increased appetite is normal as anesthesia wears off and metabolism rebounds — but true ravenous hunger, especially with weight loss or excessive thirst, could signal hormonal imbalance or infection. Track daily food intake and weight. If she’s eating 2x her usual amount *and* losing weight or drinking >100ml/kg/day, contact your vet: this may indicate early pyometra (rare but serious) or metabolic stress.
When can I remove the E-collar?
Only when your vet says so — typically Day 7–10, after confirming incision integrity. Removing it early is the #1 cause of reopened wounds. Even if she seems ‘fine,’ the internal tissues need 10–14 days to fully heal. If she’s rubbing her face raw, ask about collar padding or alternative designs — never compromise on protection.
Debunking Common Myths
Myth #1: “Kittens bounce back faster — so I don’t need to monitor as closely.”
False. While kittens heal tissue faster, their smaller blood volume means even minor bleeding or dehydration escalates rapidly. Their immature immune systems also respond less predictably to infection. Vigilance isn’t overkill — it’s biologically necessary.
Myth #2: “If there’s no visible stitch, the wound is fine.”
Dangerous misconception. Internal sutures hold the uterine stump — the most critical layer. A perfectly sealed skin surface can hide internal inflammation, fluid accumulation, or suture reaction. Always assess behavior, appetite, and temperature — not just the surface.
Related Topics (Internal Link Suggestions)
- When to spay a kitten — suggested anchor text: "optimal age to spay kitten"
- Signs of spay complications in cats — suggested anchor text: "kitten spay infection symptoms"
- How to introduce a spayed kitten to other pets — suggested anchor text: "introducing spayed kitten to resident cat"
- Kitten nutrition after surgery — suggested anchor text: "best food for recovering kitten"
- Cost of kitten spay surgery — suggested anchor text: "average spay cost for kitten"
Wrapping Up: Your Role Is Protection — Not Perfection
You don’t need to be a vet to give your kitten the safest recovery — you just need reliable information, realistic expectations, and the confidence to act when something feels off. Remember: how to take care of kitten after spay isn’t about doing everything perfectly. It’s about recognizing the 3–5 key signs that truly matter (gum color, incision integrity, appetite return, mobility, and temperature), responding quickly to deviations, and trusting your instincts when your kitten’s behavior shifts outside her baseline. Bookmark this guide, print the timeline table, and keep your vet’s after-hours number saved in your phone. Next step? Before bedtime tonight, set up that recovery box — with warm towels, shallow water, and your vet’s number taped to the side. That simple act transforms anxiety into preparedness. And that’s the first, most powerful thing you can do for her.