What Care for Spayed Kitten at Home: The 7-Day Recovery Checklist Every New Cat Parent Needs (Avoid These 3 Costly Mistakes That Delay Healing)
Your Spayed Kitten Is Home — Now What? Why Getting What Care for Spayed Kitten at Home Right Can Prevent Complications in the First 72 Hours
If you’ve just brought your spayed kitten home from surgery, your heart is likely racing—not just with relief, but with quiet panic. You’re holding a tiny, groggy creature who just underwent anesthesia and abdominal surgery, and the vet handed you a single-page handout before sending you off with vague instructions like 'keep her quiet.' But what does that *really* mean? How do you know if she’s in pain—or if that lethargy is normal? When should you worry about swelling, bleeding, or refusal to eat? This isn’t just about comfort; it’s about preventing infection, dehiscence (wound reopening), or even sepsis. According to Dr. Lena Cho, a board-certified feline practitioner and clinical advisor to the American Association of Feline Practitioners (AAFP), "Up to 42% of early post-op complications in juvenile cats stem from well-intentioned but misinformed home care—especially around activity restriction and wound monitoring." In this guide, we break down exactly what care for spayed kitten at home looks like—hour by hour, day by day—with zero jargon and maximum practicality.
Day 0–2: The Critical First 48 Hours — Rest, Monitoring & Pain Management
Your kitten’s body is still metabolizing anesthetic agents, and surgical inflammation peaks between 12–36 hours post-op. This window demands vigilant, low-stimulus care. Forget ‘just let her sleep’—you need structured observation.
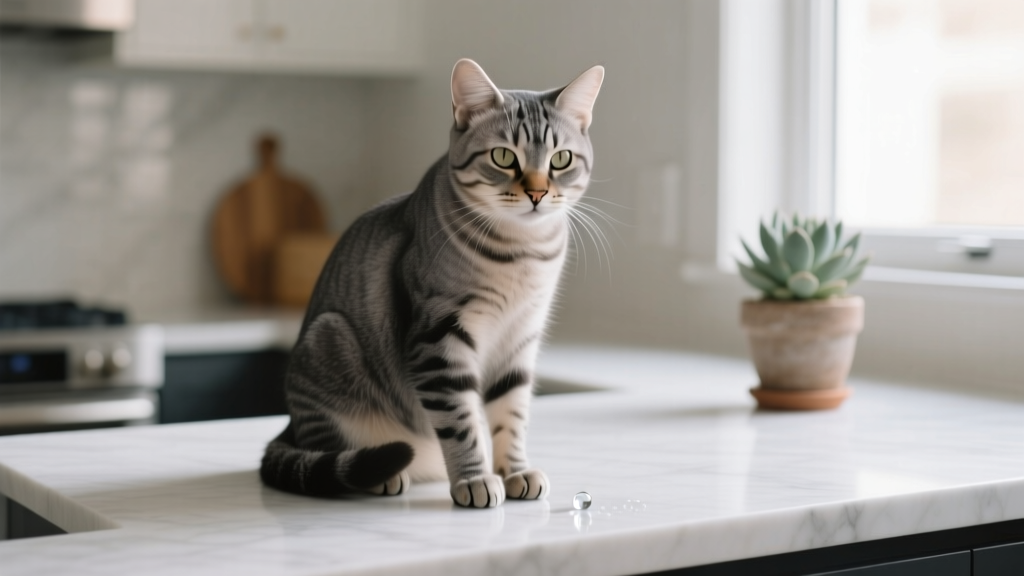
- Confinement is non-negotiable: Use a small, quiet room (not a crate) with no stairs, windowsills, or hiding spots under furniture. A spare bathroom or walk-in closet works perfectly—line the floor with soft, washable blankets (no loose threads or fleece that could snag sutures). Dr. Cho emphasizes: "Jumping, twisting, or sudden lunges—even during play—can tear internal sutures before collagen cross-linking begins. Kittens recover faster than adults, but their impulsivity makes them higher risk."
- Pain assessment, not guessing: Kittens rarely vocalize pain. Watch for subtle signs: flattened ears, squinting eyes, hunched posture, reluctance to stand or stretch, or guarding the incision site (flinching when touched near the belly). If she stops purring spontaneously—or if purring becomes strained or intermittent—that’s often your first red flag. Administer prescribed pain meds *on schedule*, not 'only if she seems sore.' Most vets prescribe buprenorphine (a safe, feline-specific opioid) or meloxicam (NSAID), but never give human NSAIDs like ibuprofen—they’re fatal to cats.
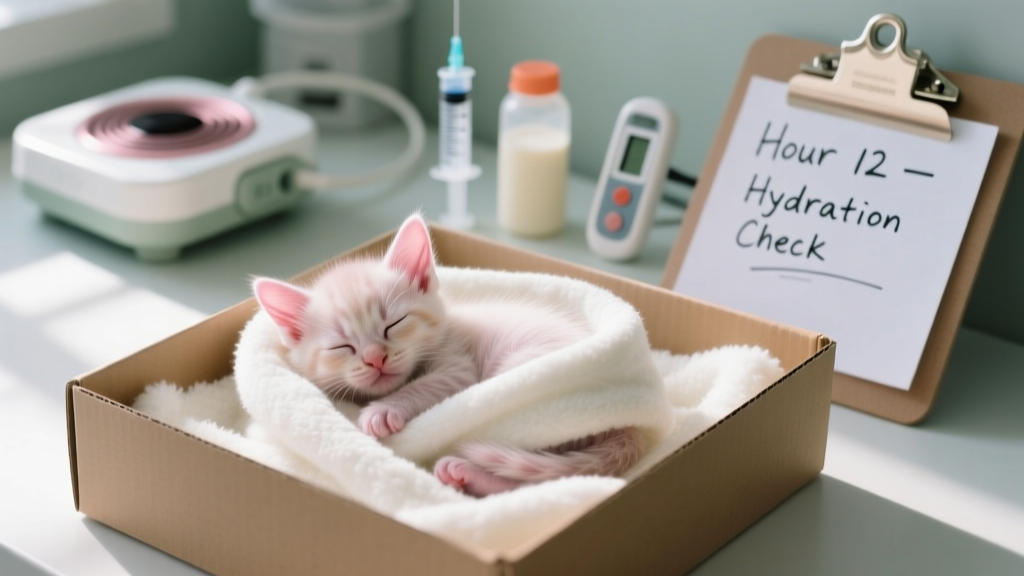
- Hydration & nutrition strategy: Offer small amounts of water every 2 hours using a shallow ceramic dish (no plastic—some kittens develop contact dermatitis). If she refuses food after 12 hours, try warming canned food to body temperature and hand-feeding 1 tsp at a time. Avoid dry kibble—it’s too hard to chew while nauseous. One client, Maya in Portland, shared: "My 14-week-old Luna wouldn’t eat until I mixed warmed chicken broth into her pate—and held the spoon gently near her nose. She lapped it in 90 seconds. Vet confirmed it was safe hydration support."
Day 3–5: The Deceptive Calm — When Complications Often Hide in Plain Sight
This is the most dangerous phase—not because things are worse, but because they *seem* better. Energy returns, curiosity spikes, and kittens start testing boundaries. Yet internal healing is still fragile: skin sutures gain only ~30% tensile strength by day 3; full wound integrity takes 10–14 days.
Here’s what to watch for—and what to do:
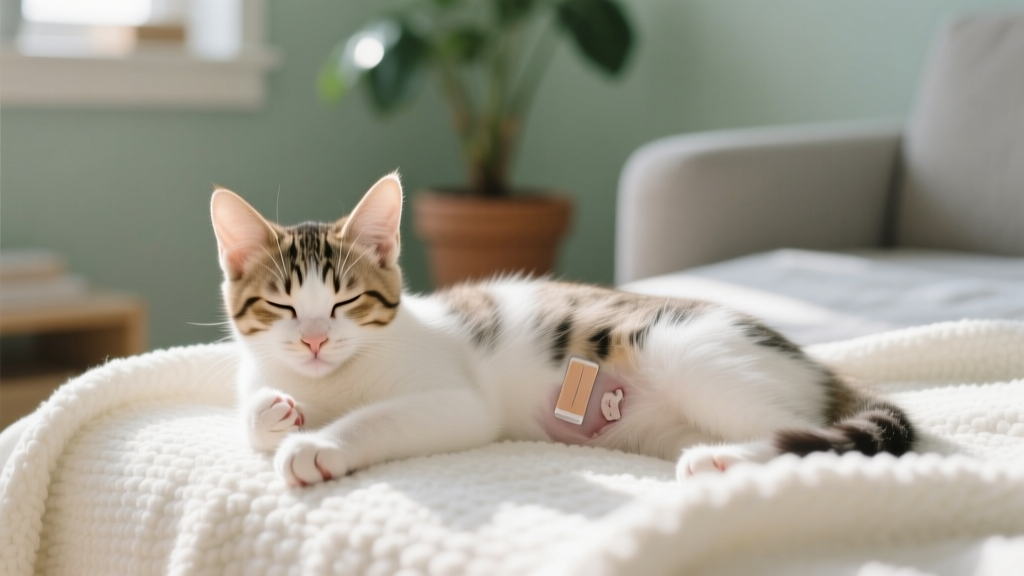
- The ‘lick trap’: Why Elizabethan collars fail (and what works instead): Standard plastic cones cause stress-induced panting, reduce spatial awareness, and increase fall risk. A 2023 study in the Journal of Feline Medicine and Surgery found 68% of kittens wearing traditional E-collars developed secondary anxiety behaviors within 48 hours. Instead, use a soft, breathable 'recovery onesie' (like the Kong EZ Soft Suit) or a modified baby t-shirt with armholes cut out and the neck snug—but only after vet approval. Always check skin daily for chafing or moisture buildup.
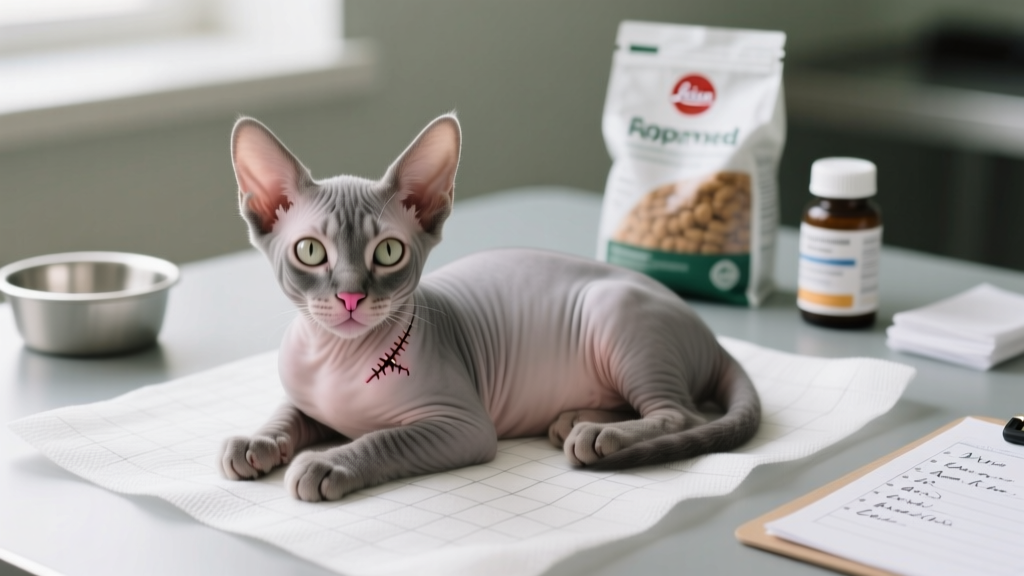
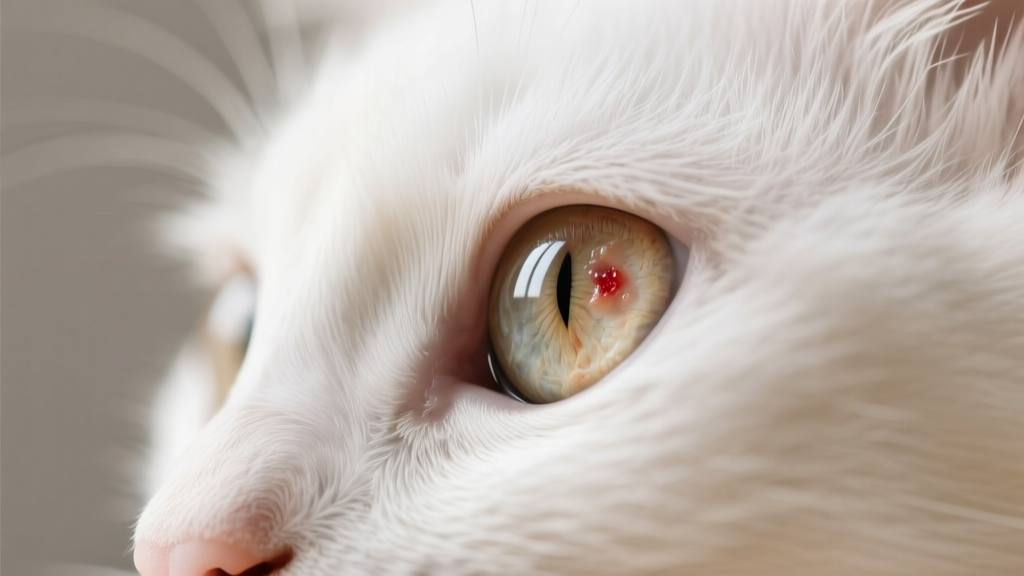
- Incision inspection protocol: Twice daily, lift fur gently (don’t touch the wound) and assess using natural light. Healthy healing looks like pale pink, slightly raised edges with minimal clear-to-amber discharge. Red flags: green/yellow pus, foul odor, blackened tissue, swelling >1 cm beyond incision margins, or fresh blood after day 2. Note: A tiny (<2 mm) drop of dried blood on day 1–2 is normal; active oozing is not.
- Behavioral baseline reset: Track litter box use, appetite, and interaction. If she uses the box but strains, cries, or produces little/no urine by day 3, contact your vet immediately—this may signal urinary retention from pain or stress. Also monitor stool: constipation is common due to opioids and reduced mobility. Add 1/8 tsp pure pumpkin (not pie filling) to food once daily if no bowel movement by day 4.
Day 6–14: Gradual Reintegration — Activity, Sutures & When to Resume Normal Life
By day 6, most kittens show renewed interest in toys—but resist the urge to 'test' her limits. Full activity resumption must wait until suture removal (if external) or vet clearance (for internal absorbable sutures).
Key milestones:
- Suture timeline: External skin sutures or staples are typically removed on day 10–14. Internal absorbable sutures dissolve over 3–6 weeks—but full abdominal wall strength takes ~21 days. Never allow jumping onto furniture or chasing laser pointers before day 14.
- Litter box transition: Switch back to regular litter only after day 10—and only if incision is fully closed and scab-free. Until then, use shredded paper, pelleted pine, or recycled newspaper litter (like Yesterday’s News) to avoid dust and tracking. Avoid clay or silica gel litters: particles can embed in healing tissue and cause granulomas.
- Reintroducing other pets: Keep dogs and other cats separated for full 14 days. Even calm adult cats may swat or sniff aggressively, startling your recovering kitten and triggering adrenaline surges that impair healing. Use baby gates with covered lower gaps to allow scent exchange without physical contact.
Your 7-Day Recovery Timeline: What to Do, When, and Why
| Day | Key Actions | Tools/Supplies Needed | Warning Signs Requiring Vet Call |
|---|---|---|---|
| Day 0 (Home Arrival) | Set up quiet recovery space; offer warm water; administer first dose of pain meds; monitor breathing rate (normal: 20–30 breaths/min) | Soft bedding, ceramic water dish, thermometer (digital rectal), prescribed meds | Labored breathing, blue/pale gums, inability to stand after 4 hours |
| Day 1 | Check incision visually (no touching); hand-feed warmed wet food; weigh kitten (baseline for tracking) | Small scale (kitchen or baby scale), tweezers (for stray hairs near wound), magnifying glass | No urination in 12 hrs; vomiting >2x; rectal temp <99°F or >103.5°F |
| Day 2 | Repeat Day 1 checks; introduce gentle petting away from abdomen; log behavior notes (sleep cycles, alertness) | Pen & notebook or recovery app (e.g., Pawscout) | Fresh blood on bedding; incision opening; kitten hiding constantly or refusing all interaction |
| Day 3 | First gentle incision clean (if vet approved): dab with sterile saline on gauze; resume short (2-min) lap time | Sterile saline, non-woven gauze pads, gloves | Swelling doubling in size; warmth radiating >2 inches from incision; lethargy worsening |
| Day 5 | Introduce 5-min supervised floor time in recovery room; add probiotic paste (e.g., FortiFlora) if diarrhea occurred | Non-slip yoga mat, probiotic paste, treat pouch | Refusal to bear weight on hind legs; dragging tail; yowling when moving |
| Day 7–14 | Gradually expand space (add one new room every 2 days); begin suture check-ups; reintroduce play with wand toys only (no pouncing) | Leash/harness (for vet transport), soft toys, baby gate | Sudden aggression; limping; persistent licking despite barrier; fever returning |
Frequently Asked Questions
Can I bathe my spayed kitten during recovery?
No—absolutely avoid bathing, wiping, or applying any topical products (including antiseptics) to the incision unless explicitly instructed by your veterinarian. Moisture disrupts scab formation and increases infection risk. If she gets dirty, gently spot-clean surrounding fur with a damp, warm cloth—never directly on the wound. Wait until sutures are removed and the site is fully epithelialized (usually day 14–21) before any full-body cleaning.
My kitten is crying and restless—does that mean she’s in pain?
Not necessarily. While pain can cause vocalization, restlessness in the first 24–48 hours is more commonly due to disorientation from anesthesia, mild nausea, or temperature dysregulation. Check her rectal temperature (ideal range: 100.5–102.5°F) and gum color (should be bubblegum pink). If she’s pacing, meowing persistently, or pressing her belly into the floor, consult your vet—but don’t assume it’s pain without ruling out other causes first.
Is it normal for my spayed kitten to have a slight odor near the incision?
A faint, clean, slightly metallic or iodine-like scent is typical in the first 48 hours due to surgical prep solutions and minor serosanguinous discharge. However, any foul, yeasty, or 'rotten egg' smell—even faint—is abnormal and signals possible bacterial overgrowth or infection. Document it with a photo and call your vet within 2 hours. Don’t wait for visible pus.
When can I let her go outside or use a cat door again?
Wait a minimum of 3 weeks post-surgery—and only after your vet confirms full incision closure and muscle integrity via physical exam. Outdoor access introduces dirt, parasites, and unpredictable interactions that dramatically raise infection and trauma risk. Even supervised patio time should wait until day 21. As Dr. Cho states: "One squirrel chase can undo two weeks of perfect home care. Patience isn’t optional—it’s preventive medicine."
Do spayed kittens gain weight easily? Should I change her food now?
Yes—spaying reduces metabolic rate by ~20–25%, increasing obesity risk by 3x if diet isn’t adjusted. But *don’t* switch food immediately post-op. Wait until day 14, then gradually transition over 7 days to a high-protein, low-carb kitten formula with L-carnitine (supports fat metabolism). Measure portions: most 3–6 month olds need 180–220 kcal/day—not 'free-fed.' Use a digital scale weekly to track trends, not just weight.
Common Myths About Spay Recovery
Myth #1: “If she’s eating and playing, she’s fine.”
Reality: Kittens mask pain masterfully. Playfulness on day 3 often precedes incision dehiscence by 24–48 hours. Energy return ≠ full healing. Always pair behavior observation with objective metrics: temperature, gum color, incision appearance, and litter box output.
Myth #2: “Staples or glue means no restrictions needed.”
Reality: External closure methods protect the surface—but internal tissues (muscle, fascia) heal on the same timeline regardless of skin closure type. Jumping, twisting, or vigorous grooming still risks internal tearing. Confinement rules apply equally to glue, staples, or stitches.
Related Topics (Internal Link Suggestions)
- When to spay a kitten — suggested anchor text: "optimal age to spay a kitten"
- Signs of infection in cats — suggested anchor text: "cat wound infection symptoms"
- Kitten recovery after surgery — suggested anchor text: "how long does kitten surgery recovery take"
- Best litter for recovering cats — suggested anchor text: "safe litter after spay surgery"
- How to stop kitten from licking wound — suggested anchor text: "alternatives to cone for spayed kitten"
Final Thoughts: Your Role Is Protection, Not Perfection
Caring for your spayed kitten at home isn’t about achieving flawless execution—it’s about consistent, compassionate vigilance. You won’t catch every subtle sign, and that’s okay. What matters is knowing which observations warrant immediate action (like no urine in 12 hours) versus what falls within normal variation (slight lethargy on day 2). Bookmark this guide, print the timeline table, and keep your vet’s after-hours number visible. And remember: the single most impactful thing you can do isn’t medication or monitoring—it’s minimizing stress. Speak softly. Move slowly. Let her rest. Because healing doesn’t happen in minutes—it happens in moments of safety, repeated, day after day. Ready to prepare your recovery space? Download our free printable Spay Recovery Kit Checklist (with vet-approved supply list and symptom tracker) at [YourSite.com/spay-checklist].